Simple, quick and easy steps to run an Oracle Database in your development environment using Docker without overloading your machine
Introduction
In our development environment, besides being easy and fast to use, above all, we need a lightweight version of it to run locally, right? I have tested different Oracle images and this was the option that best work for me. In this post i will show you how you can run the Oracle Database Express Edition version on your local machine quickly and easily and also how to connect to it using Oracle SQL Developer IDE and SQL*Plus.How to do it
Basically we just need two simple steps to get our Oracle database running on our local environment. First we need to login to the Oracle Container Registry so we can pull the image from it and then we just need to run it in a container.You can find more information by going to the Oracle Container Registry, under the "Browse Containers", click into Database and next click in the express Repository for the Oracle Database Express Edition.
I am going to skip the docker pull step, because docker run will do it for us automatically if it can not find the image locally.
Use the following command to login into Oracle Container Registry with your username and password from the Oracle web site:
docker login container-registry.oracle.com
Run the following docker run command with the -e flag, short for --env, to already set your password for Orcale SYS user. This way you do not need to change it or look for it later.
docker run -d --name oracle --shm-size=1gb -p 1521:1521 -p 5500:5500 -e ORACLE_PWD=CHOOSE_YOUR_PASSWORD container-registry.oracle.com/database/express:latest
You can also run the Docker command with the -v flag to save the database files on your local machine so you do not loose all of them when the container is removed, but this will also take much more time to start up.
docker run -d --name oracle --shm-size=1gb -p 1521:1521 -p 5500:5500 -v ~/Documents/oracle:/opt/oracle/oradata -e ORACLE_PWD=CHOOSE_YOUR_PASSWORD container-registry.oracle.com/database/express:latest
You can run the following commands to find out if the Oracle Database is ready to use:
docker logs oracleIf you want to see more information from your logs, you can also run it like this:
docker logs oracle --detail

Acessing Enterprise Manager
This image also have configured the Express version of the Oracle Enterprise Manager (OEM). As defined in the Orcale web site, "Oracle Enterprise Manager is Oracle’s on-premise management platform that provides a single dashboard to manage all of your Oracle deployments, in your data center or in the cloud.". To access the OEM Express from your browser go to the following address. Don't forget the https part, otherwise it will not work.https://localhost:5500/em/
If you got lock up from the browser admin page, just type in your keyboard: thisisunsafe, to get in.
One last step we need to do. Enter the right name for the Oracle v$containers. For our version you can enter CDB$ROOT like is shown in the image below. You can read more about it here.


Using SQL*Plus
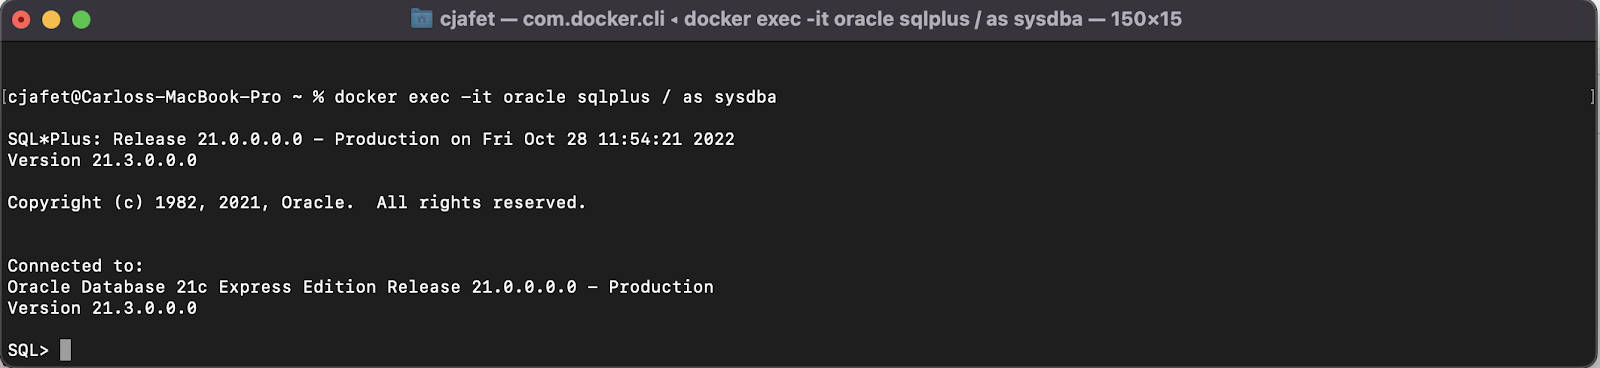
Using docker exec -it command, we can enter in the database container to run SQL commands directly. You just need to run the following docker command:docker exec -it oracle sqlplus / as sysdba
Note that I have used oracle here because that is my container name. If you give a different name, just change for the one you gave.
Let's see how to create an user using SQL*Plus. Run the previous command to get access to the SQL CLI.

ALTER SESSION SET "_ORACLE_SCRIPT"=true;


GRANT CREATE SESSION TO YOUR_USERNAME;

GRANT CREATE TABLE, CREATE VIEW, CREATE SEQUENCE TO YOUR_USERNAME;

Using SQL Developer
Let's use Oracle SQL Developer IDE to connect to our new Oracle database.Since our database server is already running and we have created our user and given the necessary permissions to him, you should now been able to connect to your database server using SQL Developer and receive a success status message back when testing your connection.

Conclusion
In this post i tried to address the main difficulties and how to solve some problems that you may encounter and mainly, I tried to show how we can quickly run a local instance with an Oracle database for development.Additional Commands
If you need to stop and remove your container you can simply run:docker stop oracle && docker rm oracle
Additional Reference
Oracle Container RegistryOracle Database Express Edition
Oracle SQL Developer
Comments
Post a Comment