
A Retrospective board to call your own made with React, GraphQL and MongoDB

Introduction

I have been working in a project to enable anyone to fork and run a retrospective board in its own server. I have created 2 (two) projects: one for the UI with React and GraphQL using Apollo client and one for the GraphQL server also using Apollo (Server) and MongoDB for the database.

In the following sections I am going to walk you through the steps and explain how to run both projects.

Main features

The board main features:
- History of your past iteractions saved in the Mongo database
- Easy url link format to quick access any past iteractions
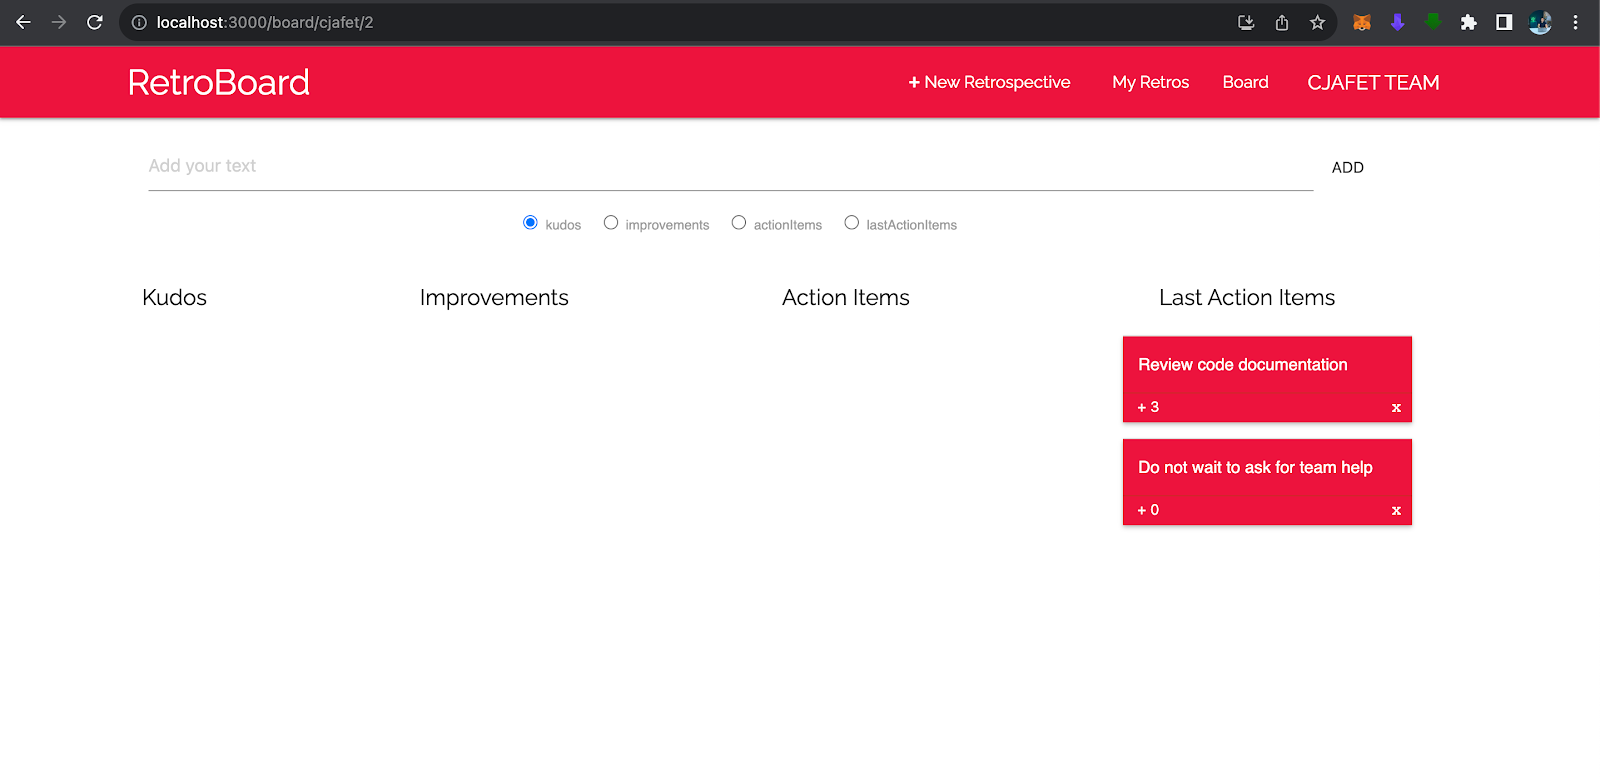
- Automatically add action items as last action items in the new board
- Quick move items to Action Items

Coming next

You can fork the React UI from the following GitHub repo:
- Support for multiple teams
- Authentication
- Subscriptions (pub/sub)

Code Repo

You can fork the React UI from the following GitHub repo:
React Retrospective UI
You can fork the GraphQL Server from the following GitHub repo:
Retrospective GraphQL Server

Running the React UI

Let's start by cloning the forked React UI repo:
git clone https://github.com/cjafet/react-graphql-retro-board.git
Now change to the cloned directory and run the following command to install all project dependencies:
npm i
With all the project dependencies installed I will open the project in Visual Studio Code by running the following command in the terminal:
code .
Run the following npm command to start and open the React board in the browser:
npm run start

You should see the following image since we don't have any boards yet and the the GraphQL server is not running:

Running the GraphQL Server

Next, let's clone and start the GraphQL server so we can create our first retrospective board!
git clone https://github.com/cjafet/apollo-graphql-server
Now change to the cloned directory and run the following command to install all project dependencies:
npm i
Run the following npm command to start the graphQL server:
npm run start
With our graphQL server running we can now create our first retrospective board!

Creating a new Retrospective

When doing this for the first time the UI will show a tex input so you can set your team name.
Enter the values for your team name and your iteration number.
Click on the link to access your new retrospective board! You should see an image similar to this one!
A retrospective board with the items from the last sprint should look like this!
When the next retrospective board is created, all the action items from the last sprint will be loaded as the last action items in your current sprint:

Conclusion

You can fork the react-graphql-retro-board and apollo-graphql-server projects mentioned in the beginning of this article to keep track of all of your team retrospective boards. The "My Retros" menu provide an easy access to all of your retrospectives saved in the mongoDB and you can also easily access any retrospective number by simpling following the board/team/retro# uri pattern. You can configure the application to use a cloud version of the MongoDB by simply going to the Atlas MongoDB Cloud website and register for a free trial.

Github project

React Retrospective UI
Retrospective GraphQL Server

References

GraphQL | A query language for your API
Apollo GraphQL
MongoDB
MongoDB Atlas Database

Comments

Popular posts from this blog

How to use Splunk SPL commands to write better queries - Part I

Introduction As a software engineer, we are quite used to deal with logs in our daily lives, but in addition to ensuring that the necessary logs are being sent by the application itself or through a service mesh, we often have to go a little further and interact with some log tool to extract more meaningful data. This post is inspired by a problem I had to solve for a client who uses Splunk as their main data analysis tool and this is the first in a series of articles where we will delve deeper and learn how to use different Splunk commands. Running Splunk with Docker To run Splunk with docker, just run the following command: docker run -d —rm -p 8000:8000 -e SPLUNK_START_ARGS=--accept-license -e SPLUNK_PASSWORD=SOME_PASSWORD --name splunk splunk/splunk:latest Sample Data We are going to use the sample data provided by Splunk. You can find more information and download the zip file from their web site . How does it work? In order to be able to interact with Splunk t...

How to run OPA in Docker

From the introduction of the openpolicyagent.org site: OPA generates policy decisions by evaluating the query input against policies and data. In this post i am going to show you an easy and fast way to test your policies by running OPA in Docker. First, make sure you have already installed Docker and have it running: docker ps Inside your choosen directory, create two files. One called input.json file for your system representation and one file called example.rego for your rego policy rules. Add the following content to your json file: Add the following content for the example.rego: Each violation block represents the rule that you want to validate your system against. The first violation block checks if any of the system servers have the http protocol in it. If that is the case, the server id is added to the array. In the same way, the second violation block checks for the servers that have the telnet protocol in it and if it finds a match the server id is also...

API GATEWAY: THE CLOUDFRONT 403 FORBIDDEN ERROR

If you are having a 403 Forbidden error from CloudFront , that means your domain name is not linked to your CloudFront distribution and because CloudFront stays in front of your API GATEWAY you need to create a CNAME record pointing your domain name to your CloudFront target domain name in order for it to work. So, If you need to point your api to a custom domain name, all you have to do is following those 2 easy steps: 1 - CREATING YOUR CUSTOM DOMAIN NAME Go to the API GATEWAY console and click on the Custom Domain Name menu. Click on the Create Custom Domain Name button. Next, assign a certificate matching the same domain name you are creating and map to the root path and destination of your desired api. Lastly, copy the CloudFront Target Domain Name . You will need to paste that in your Route 53 record. 2 - CREATING A CNAME RECORD ON ROUTE 53 Create a CNAME record on Route 53 for the same custom domain name, assigning to it the CloudFront Target Domain. CONCLUSION ...